Select clips in the timeline, or files, sequences or bins in the Project panel, then press at the top.
Split Screen
Your clips tap one to move it to another spot
1
Host camera.mp4
V3 · spot 1
2
Guest camera.mp4
V2 · spot 2
3
Wide shot.mp4
V1 · spot 3
Layout
Preview 1920 × 1080
1Host camera.mp4
2Guest camera.mp4
3Wide shot.mp4
Fit
Gap 10 px
Only the Motion and Crop settings of these clips change - nothing is moved, trimmed or added. Undo split puts every value back.
Keyboard shortcuts
Off – turn on to use the keys below
⌃1
Adjustment layer
One layer over the selected clips
⌃2
Adjustment layer
One layer per selected clip
⌃3
Adjustment layer
Across each cut · 20 fr
⌃4
Cross Dissolve
Between clips · 15 frames
⌃5
Sound effect
Choose a sound
⌃6
Not set
Tap to choose what it does
⌃7
Not set
Tap to choose what it does
⌃8
Not set
Tap to choose what it does
⌃9
Not set
Tap to choose what it does
⌃0
Not set
Tap to choose what it does
Quick Slots
Runs your first 10 Quick Slots from anywhere in Premiere (with shortcuts on). Plain 1–0 can’t be used there - Premiere needs them for multicam and typing numbers.
Select the clips on the timeline that you want to wrap into a nested sequence.
Choose Together (all selected clips become one nest) or One per clip (each clip becomes its own nest).
Type a Nest name, then press Enter or click Nest selected clips. The nest appears right where the clips were.
To unnest: select one nested clip on the timeline, then click Unnest selected clip. Its clips come back with every layer, effect and keyframe.
Video / Audio: untick one of them to unnest only the other part.
Undo: one Ctrl/Cmd+Z undoes the whole thing. Mac: Unnest uses Premiere's own Copy and Paste, so allow Premiere in System Settings › Privacy & Security › Accessibility.
Select clips on the timeline
Nest
Wrap the selected clips into a nested sequence, right where they sit.
All selected clips become one nested sequence. Press Enter to nest.
Unnest
Turn the selected nested clip back into its original clips, with every layer, effect and keyframe kept.
Select a nested clip first
Select the clips to sync: every camera clip plus your audio recorder files.
Under Clips from, choose where you selected them: Project panel or Timeline.
Under Put the result in, choose New sequence or At playhead.
Optional: Attach recorder audio to the videos gives each camera clip the matching part of your recorder sound, linked to it. Keep camera audio where the recorder didn't record fills the parts the recorder missed.
Click Sync by audio. It matches the sound on your computer - nothing is uploaded, and no timecode or clapper is needed (a clap helps). Cancel stops it.
Cameras go on V1 and up, recorder audio below. Results shows how each clip was matched, and the clock drift when it's a frame or more.
Undo: one Ctrl/Cmd+Z undoes it.
Select camera clips and audio files in the Project panel
Sync by audio
Lines up footage from several cameras and audio recorders by their sound - no timecode, no clapper needed (a clap helps).
Clips from
Put the result in
A new sequence in the "Synced Sequences" bin, made with the first camera clip's settings. Your clips stay where they are.
Results
Sync first: one camera per video track, and each speaker's mic on its own audio track. Not synced yet? Click Not synced yet? Sync clips first.
Open that synced sequence and click Read the timeline.
Who is on which camera: check each mic's speaker name and camera - it's a guess, so fix anything wrong. Pick the Wide shot.
Adjust the settings if you like: shortest shot, how often to cut to the wide, how fast angles change, and the wide for crosstalk or silence.
Click Build multicam edit. It cuts to whoever is talking; your original sequence is kept as a backup.
Switch a shot: select a shot (or put the playhead on it), then click who to show. Deleted angles come back from their files.
Captions by speaker: click Transcribe, pick a style for each speaker with ‹ ›, then Add captions by speaker. Export transcript with names saves a TXT and SRT.
Only one person talking? Angles change at natural pauses.
Open the synced sequence: one camera per video track
Multicam editor
Cuts to whoever is talking. Each speaker needs their own mic.
Who is on which camera
Each mic, its speaker's name and camera.
Wide shot
Shortest shot (seconds)
Cut to the wide in long talks
Change angle
Switch a shot
Select a shot (or put the playhead on it), then pick who to show.
Captions by speaker
No transcript yet.
Results
List is empty. Select clips and click Save.
Curve type
0.42, 0.00, 0.58, 1.00
Bounces 3
Stiffness 60%
Steps 6
Library
Ease in/out
Sharp in
Gentle out
Overshoot
Soft bounce
Hard bounce
Gentle spring
Snappy spring
Rubber band
6 steps
12 steps
Built-in macros
1-Click Talking Head
Cut, b-roll, captions, color, music
Remove Silences + Alternate Clips
Cut pauses, alternate V1/V2
Stack + Offset
Stack clips, then offset them
Remove Silences + Captions
Cut pauses, then add captions
Remove Silences & Filler Words
Cut pauses and um, uh
Transcribe + Captions
Transcribe and add captions
Talking Head - No Questions
Everything automatic - pick a style
Auto B-Roll
Stock b-roll from your words
Multicam Edit
Switch cameras + speaker captions
Background Music
Free music under your voice
Recorded macros
No clip analyzed yet
Detection Strength
LightBalancedAggressive
50/100
Scan a clip to see its noise floor and speech level
silence thresholddB
min. gap lengths
No presets saved yet
paddingms
—
quiet gaps found
Working...
✓ Removed
before
—
→
after
—
Alternate clips (V1 / V2)
Select the cut clips on the timeline. The 1st stays on V1/A1, the 2nd moves up to V2/A2, the 3rd stays, and so on, so every cut can be trimmed longer or shorter.
Choose the source: select a clip on the timeline and click Selected Clip, or click Import from PC. Several clips selected? Choose Selection, In/Out Points or Entire Sequence.
Remove Background Noise (offline, no account): pick the Strength and click Remove Noise. Good for hiss, fan and room noise.
Auphonic (also evens out levels and hum): paste your free Auphonic API Key and click Save (How do I get an API key? shows how), pick a Preset, then click Clean Audio.
The cleaned audio goes on an empty audio track at the playhead - your original is never changed. STOP cancels; Change Folder sets where files are saved.
Choose the image: select a JPG or PNG still on the timeline and click Selected Clip, or click Import from PC.
Paste your free remove.bg API Key and click Save (How do I get an API key? shows how - 50 free images a month).
Click Remove Background.
A transparent PNG goes on an empty video track at the playhead - your original is never changed.
Choose the source: select a clip and click Selected Clip, or click Import from PC. Several clips selected? Choose Selection, In/Out Points or Entire Sequence.
Click Scan to measure current loudness.
Pick a Quick Preset for where the video is going, or set a Custom Target (LUFS, true peak, loudness range).
Click Normalize Audio. The corrected audio goes on an empty audio track - runs on your computer, no account needed.
Choose Download Location
SickMotionz_AI⌄
/Users/demo/Documents/SickMotionz_AI
Source Audio
Multiple clips selected — what should be processed?
No clip selected yet
Auphonic API Key
Go to auphonic.com and create a free account.
Click your name (top right) → Account Settings.
Open the API Key section on that page.
Click Create to generate a key.
Copy it and paste it above.
Auphonic Preset
Working...
✓ Cleaned
Placed on an empty audio track at the playhead.
Remove Background Noise
⌄
Runs fully offline on your own machine (RNNoise) — no upload, no API key, no account. Good for hiss, fan/AC hum and room noise; it won't fix clipping or a loud second voice talking over yours.
Choose Download Location
SickMotionz_AI⌄
/Users/demo/Documents/SickMotionz_AI
Source Audio
Multiple clips selected — what should be processed?
No clip selected yet
Strength
Working...
✓ Cleaned
Placed on an empty audio track at the playhead.
Choose Download Location
SickMotionz_AI⌄
/Users/demo/Documents/SickMotionz_AI
Source Image
No image selected yet
remove.bg API Key
Go to remove.bg and create a free account (50 free images/month).
Open your Dashboard.
Find the API Key section.
Copy the key shown there.
Paste it above.
Working...
✓ Background Removed
Placed on an empty video track at the playhead.
Source Audio
Multiple clips selected — what should be processed?
No clip selected yet
Scan to measure current loudness
Target Loudness
target loudnessLUFS
true peak ceilingdBTP
loudness rangeLU
Working...
✓ Normalized
— LUFS → — LUFS, placed on an empty audio track.
Drag across words (or […] pauses) to highlight them, press Delete - they’re crossed out. Then click Apply to video. Double-click a word to correct it.
Put the playhead on your video and click Grab frame.
Drag to move · pull a corner to resize
1 / 15
Emphasis words 0
Make key words stand out with their own style. Mark them in the Transcript (highlight → right-click → Emphasise) or let the panel pick them.
Style
Size
140%
Show them
Words
Words per caption
Max characters
No limit
Text case
Timing
Min duration
0.8 s
Max duration
6.0 s
Gap between
None
Output
Language
Put them on
What to Transcribe: choose Entire Sequence, In/Out Points or Selection.
Pick the Whisper Model (bigger is slower but more accurate - Small is a good start; it downloads once) and the Spoken Language.
Click Generate Transcript. It runs on your computer - nothing is uploaded. The transcript is saved for this sequence (Restore / Delete).
Fix the text: double-click a word to correct it; underlined words are ones Whisper wasn't sure about. Fix Words and Names & terms to expect get names right every time.
Captions: pick a look with ‹ › (▶ previews it), set Size and Height in the preview, and adjust Caption Settings (words per caption, text case, min duration...).
Click Add as Graphic Clips. A backup sequence is made first. Replace my last captions swaps your previous try cleanly. Animation cut off? Raise Min Duration.
Style looks wrong? Install the font named under the style preview.
More:Export as SRT for Premiere's own captions (drag it onto the timeline), Apply Style to File for an SRT/JSON/TXT, Remove Words to cut fillers, and Translate Captions.
Editing a caption later: fix the words in the transcript here and add the captions again - don't type into Essential Graphics (a Premiere 2025 bug can bring the old title back).
Transcribe⌄
Whisper Model
Spoken Language
Transcripts use Large-v3 Turbo, the most accurate engine. Even so, some languages may not be 100% accurate - check the transcript and correct any words before making captions. Filler words, retakes and translation are tuned for English; smart b-roll needs English speech or your own topics.
Idle — waiting for user input
⌄ Engine Log
Transcript saved for this sequence29 words · 2 min ago · re-transcribe if you've cut the timeline since
Double-click a word to fix it. Underlined words are ones Whisper wasn't sure about.
Caption Settings
Build-up: words appear one by one. Fit to Min Duration: captions stay up long enough to animate.
Want Premiere's own captions? Export as SRT, then drag it onto the timeline.
Fix Words⌄
Whisper misspells names and brand words. Replacements are applied to every new transcript automatically, and you can run them on the current one.
→
Names & terms to expect
Whisper is told these are coming, so it spells them right the first time. The corrections above are included automatically.
Remove Words⌄
Add any word or phrase — filler words, profanity, a name said by mistake, your call — then scan the transcript above for matches before cutting. A backup sequence is made automatically, and Premiere's own Undo works too.
um×uh×umm×uhh×erm×
0 matches
Captions⌄
Drops a styled caption graphic on the timeline for each group of words, timed to the transcript above. Every .mogrt in the assets/mogrt folder shows up as a style.
Looks
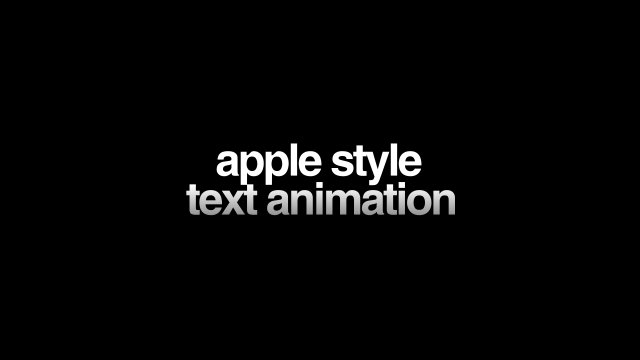
APPLE STYLE ANIMATION1 / 86
The preview shows the template's own title over the frame under your playhead (camera button grabs it again). Your words replace the title when you add captions.
Size100%
Premiere Scale ≈ 56% · 100% fits the frame width
HeightDefault
Up and down: 0% is the top of the frame, 100% the bottom.
2 text lines — one word per line · Font: Mytupi-Bold
Additional Settings
Editing a caption afterwards: Premiere (2025 and later) has a display bug where the Essential Graphics text box keeps showing the template's original title even though the caption on screen is correct. Don't type into that box — it can put the old title back. Fix the words in the transcript here and add the captions again; "Replace my last captions" swaps them cleanly.
Apply Style to SRT, JSON or TXT
Turn a captions file into styled graphic clips using the style, position, text options and auto-fit chosen in Captions above. SRTs in your Project panel (including ones from Export as SRT) are listed, or Browse to any .srt, .json or .txt file. Timing comes from the file: SRT cues, JSON with times (Whisper and most transcript tools), or a TXT with times such as Premiere's transcript export. A TXT script with no times is lined up with the transcript above, so the captions use your exact wording.
Translate Captions⌄
Translates the transcript into another language and uses every caption setting above. Runs fully offline on a bundled engine (Argos Translate) — after a one-time language download of roughly 90 MB, nothing leaves your machine. English speech only for now.
Choose the source: select a clip on the timeline and click Selected Clip, or click Import from PC to pick a file. Several clips selected? Choose Selection, In/Out Points or Entire Sequence.
Pick the Output Format (MP3, WAV, AAC, FLAC or OGG) and the Bitrate.
Optional: tick Also drop the result onto an empty audio track.
Click Convert Audio. The file is saved in your download location (Change Folder to pick another); Reveal File shows it.
Runs on your computer - no account, nothing uploaded.
Choose Download Location
SickMotionz_Converted⌄
/Users/demo/Documents/SickMotionz_Converted
Source
Multiple clips selected — what should be processed?
No clip selected yet
Output Format
Bitrate
Working...
✓ Converted
Saved.
SEQUENCElast select
Sync trims match one track's length to another. Custom trims cut a fixed number of frames. Playhead trims auto-measure to your current playhead position.
Export presets
Audio Only
Audio Only
MP3_128 KBPS
MP3_192 KBPS
MP3_256 KBPS
MP3_320 KBPS
WAV_48000_16BIT
Custom Bitrate
1920x1080_MOV_30fps_10mbps
1920x1080_MOV_30fps_15mbps
1920x1080_MOV_30fps_20mbps
1920x1080_MP4_30fps_10mbps
1920x1080_MP4_30fps_15mbps
1920x1080_MP4_30fps_20mbps
MOV 4K_30Fps_10mbps
MOV 4K_30Fps_15mbps
MOV 4K_30Fps_20mbps
MOV 4K_30Fps_5mbps
MP4 4K_30Fps_10mbps
MP4 4K_30Fps_15mbps
MP4 4K_30Fps_20mbps
MP4 4K_30Fps_5mbps
Facebook
Facebook 1080p HD
Facebook 2160p 4K
Facebook 720p HD
High Quality
High Quality 1080 HD
High Quality 2160 4K
High Quality 480 SD
High Quality 480 SD Wide
High Quality 720 HD
Match Source
01 - Match Source - High bitrate
01 - Match Source - Medium bitrate
02 - Match Source - Low bitrate
Match Source with Captions Mp4
Mobile Device
Mobile Device 1080p HD
Mobile Device 2160p 4k
Mobile Device 480p SD Wide
Mobile Device 720p HD
Still Image
JPEG
PNG
Twitter
Twitter 1080p HD
Twitter 640x640
Twitter 720p HD
Vertical / Reels
MOV 1080x1920_25fps_10mbps
MOV 1080x1920_25fps_15mbps
MOV 1080x1920_25fps_20mbps
MOV 1080x1920_25fps_5mbps
MOV 1080x1920_30fps_10mbps
MOV 1080x1920_30fps_15mbps
MOV 1080x1920_30fps_20mbps
MOV 1080x1920_30fps_5mbps
MOV 4K REELS_30fps_10mbps
MOV 4K REELS_30fps_15mbps
MOV 4K REELS_30fps_20mbps
MP4 1080x1920_30Fps_10mbps
MP4 1080x1920_30Fps_15mbps
MP4 1080x1920_30Fps_20mbps
MP4 1080x1920_30Fps_5mbps
MP4 4K REELS_30fps_10mbps
MP4 4K REELS_30fps_15mbps
MP4 4K REELS_30fps_20mbps
Vimeo
Vimeo 1080p HD
Vimeo 2160p 4k
Vimeo 480p SD
Vimeo 480p SD Wide
Vimeo 720p HD
YouTube
YouTube 1080p HD
YouTube 2160p 4K
YouTube 480p SD
YouTube 480p SD Wide
YouTube 720p HD
Search YouTube, pick a video, choose a quality, optionally trim, then send it straight to an empty track.
Choose Download Location
SickMotionz_Downloads⌄
/Users/demo/Documents/SickMotionz_Downloads
Page 1
3:34
City lights timelapse (4K)Urban Frames
1:00:00
Lo-fi beats to edit toChill Studio
2:08
Cinematic B-roll pack: coffee shopB-Roll Lab
12:22
How I edit talking-head videos fastCreator Desk
1:00:05
Ocean waves ambience - 1 hourCalm Sounds
45:11
Retro synthwave mixNeon Nights
Loading preview...
0:00Drag handles or type times below0:00
Working...0%
Choose Download Location
SickMotionz_Stocks⌄
/Users/demo/Documents/SickMotionz_Stocks
Page 1
José Noel Marenco
Sedanur Kunuk
Helena Jankovičová Kováčová
Susanna Marsiglia
Francesco Ungaro
josh_ dago__
虎 曼
Olga Kovalski
Mehdi El Marouazi
Arndt-Peter Bergfeld
Pick any MOGRT for captions
Select 1 or 2 clips, then click or drag an overlay onto the timeline to place it exactly at the cut point(s). Hover to preview.
0 selected
08 Overlay Hand-Drawn Arrow (16x9).mov
08 Overlay Hand-Drawn Arrow (9x16).mov
08 Overlay Hand-Drawn Circle (16x9).mov
08 Overlay Hand-Drawn Circle (9x16).mov
08 Overlay Hand-Drawn Subtitle 1 (16x9).mov
08 Overlay Hand-Drawn Subtitle 1 (9x16).mov
08 Overlay Hand-Drawn Subtitle 2 (16x9).mov
08 Overlay Hand-Drawn Subtitle 2 (9x16).mov
08 Overlay UI Button Particles (16x9).mov
08 Overlay UI Button Particles (9x16).mov
07 Transition 1 (16x9).mp4
07 Transition 1 (9x16).mp4
07 Transition 2 (16x9).mp4
07 Transition 2 (9x16).mp4
No active sequence
No guide on the timeline yet.
Short videos on how to use each tool. New ones added to the extension show up here automatically.
Your tutorial videosThey came with your download, in the folder “4. How To Use The Extension”. Unzip the download first if you haven’t, then show the panel where that folder is - once.
Quick fixes
No tutorials yet — check back soon!
Click or drag a MOGRT onto the timeline to place it at the playhead, on a fresh track. Hover to preview. Templates auto-pick the 16:9 or 9:16 version that matches your active sequence.
Preview on your frame
Hover a MOGRT to see it on your frame - click one to keep it here.
APPLE STYLE ANIMATION
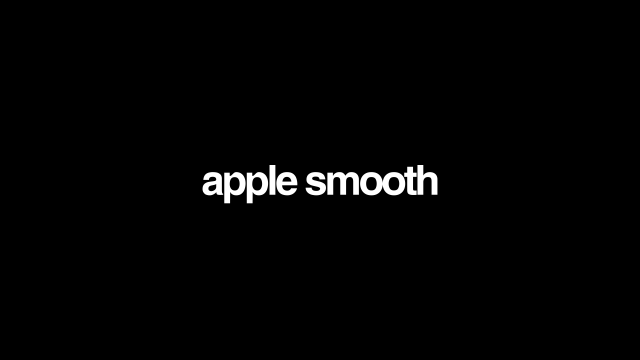
apple smooth
apple WORD
Fast Wip Animation
GREEN AND GREY
BLUE AND ORANGE
CLEAN BLUE
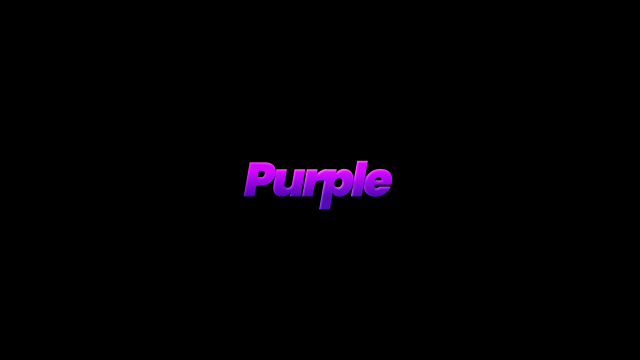
Purple
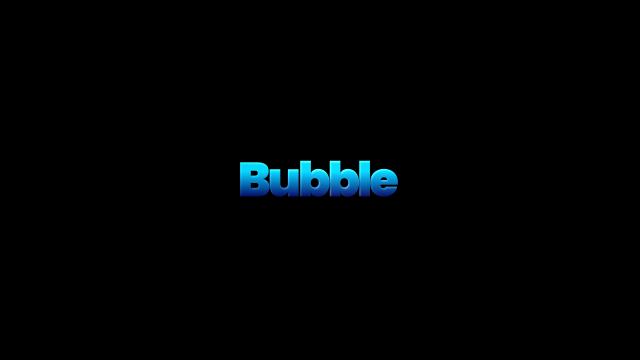
Bubble
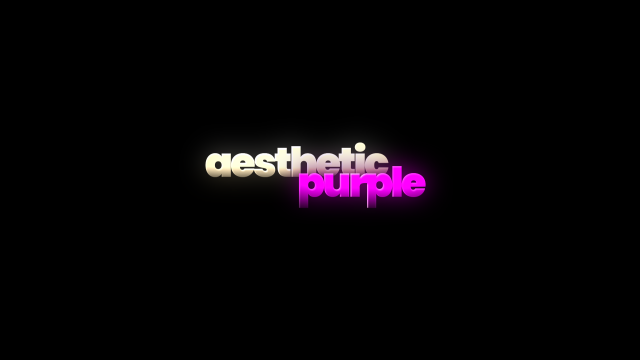
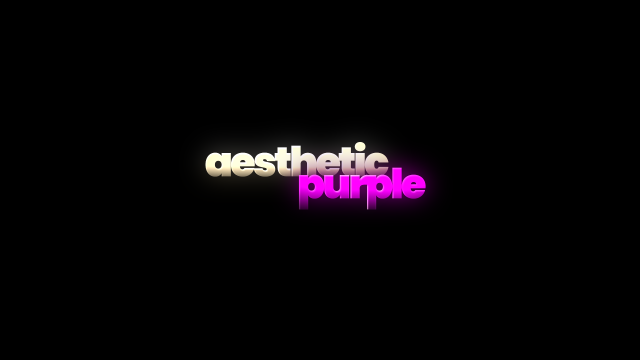
AESTHETIC PURPLE
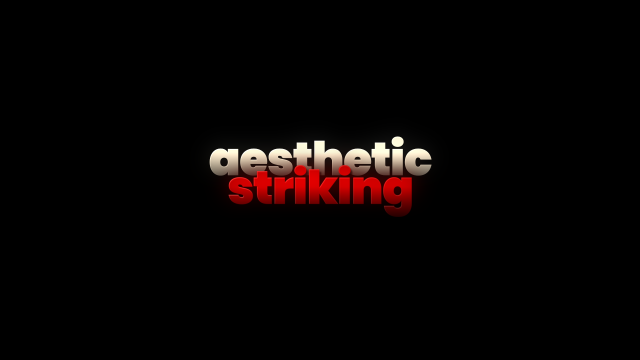
AESTHETIC STRINKING
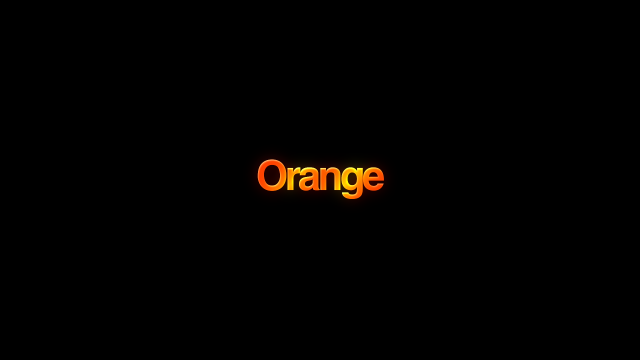
ORANGE TEXT
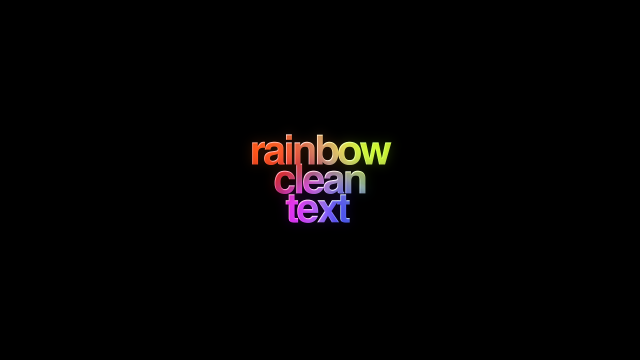
RAINBOW CLEAN TEXT
Regular Animation
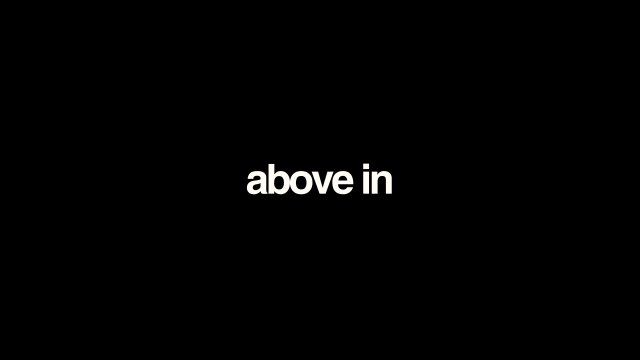
ABOVE IN
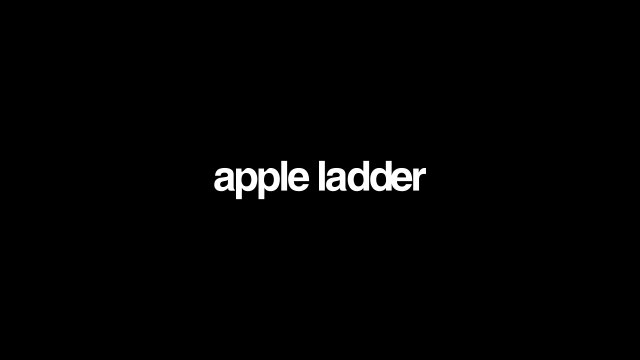
apple LADDER
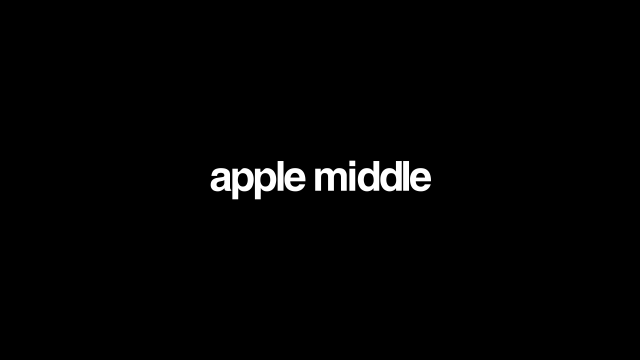
apple MIDDLE
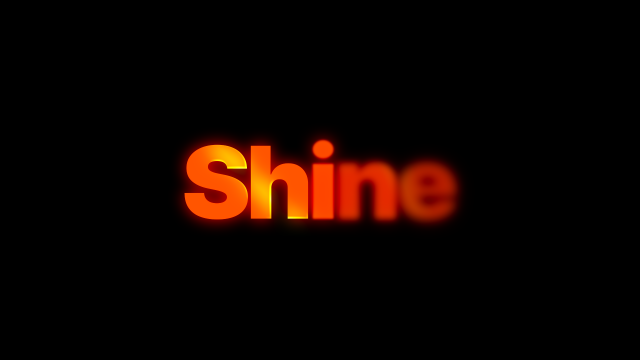
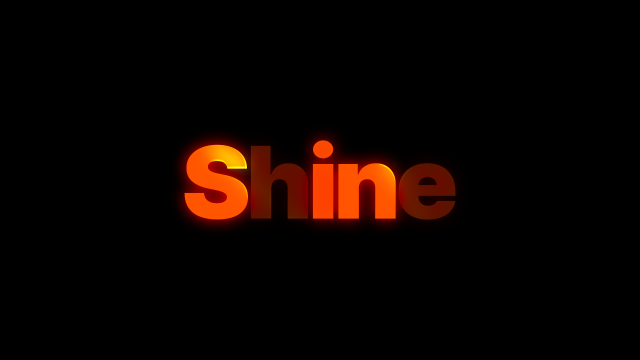
Blur Fade In WIth Shine
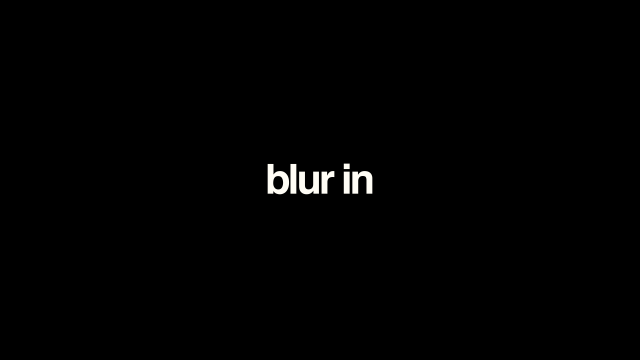
BLUR IN
BOTTOM IN
Cinematic Blur Animation
clean aesthetic light
Clean gradient
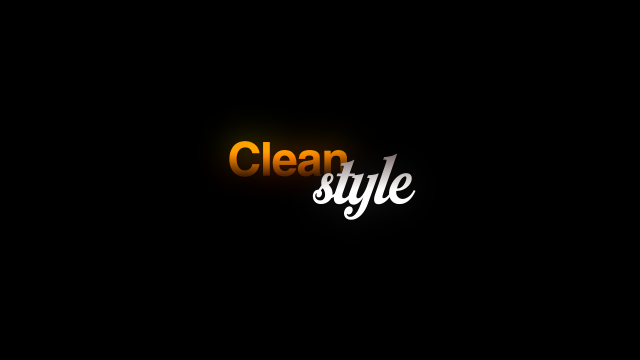
CLEAN STYLE
dark water
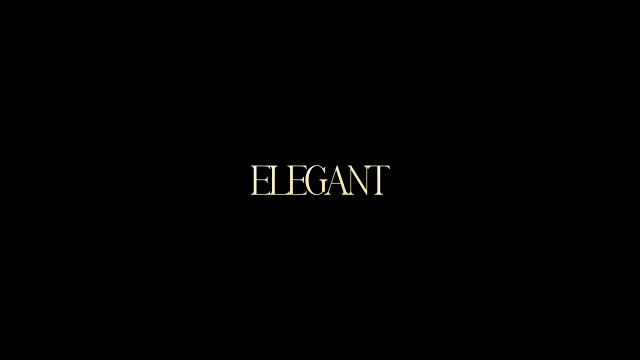
ELEGANT
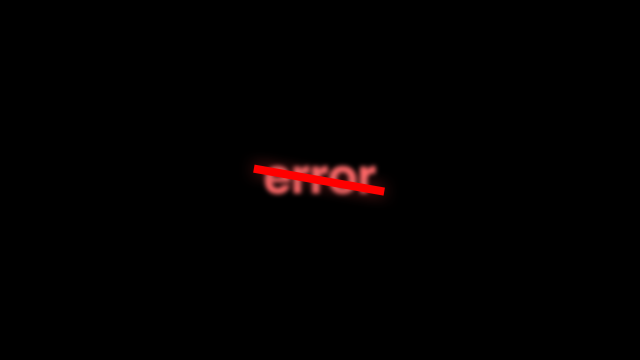
ERROR TEXT
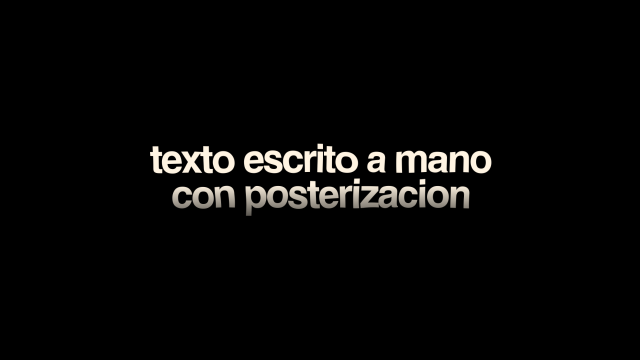
ESCRITO A MANO POSTERIZACION
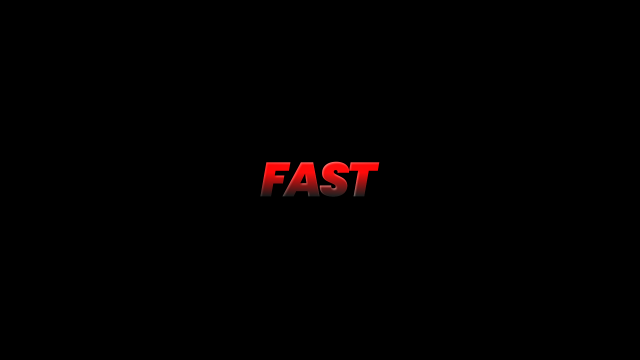
FAST
Fast Wip Shine Animation
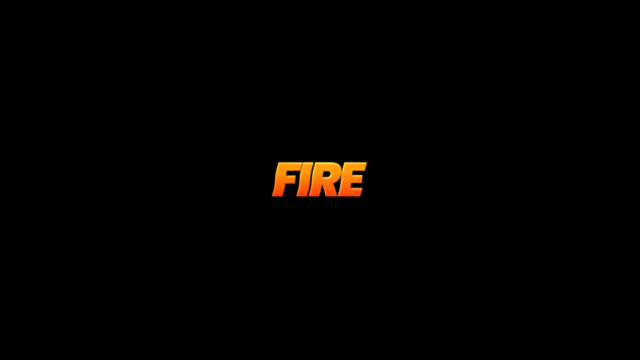
FIRE
Flicker Shine Effect
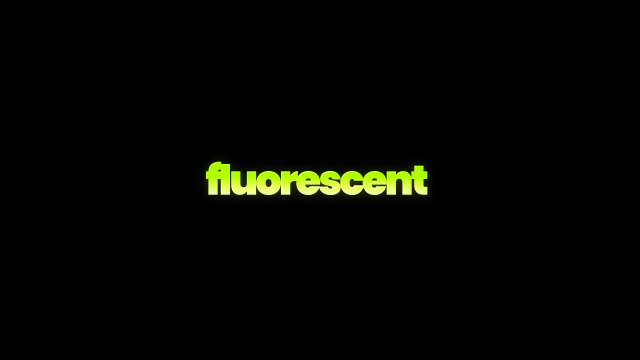
fluorscent
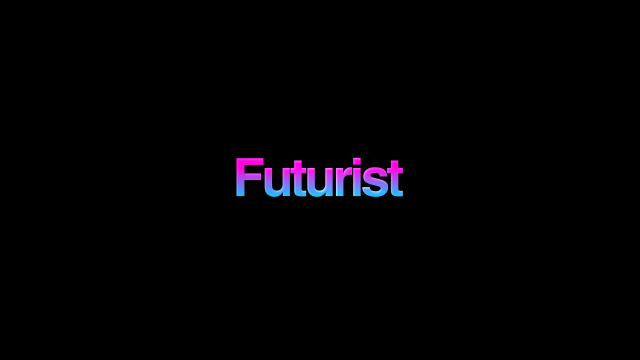
FUTURIST
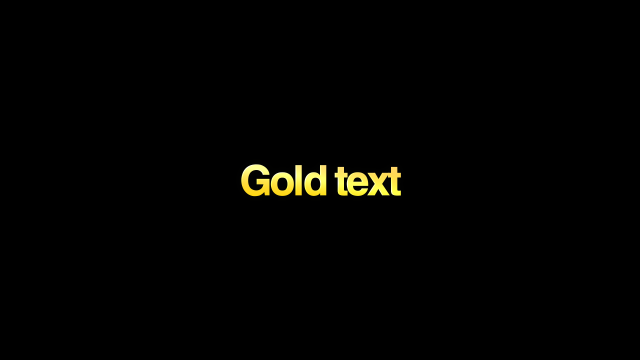
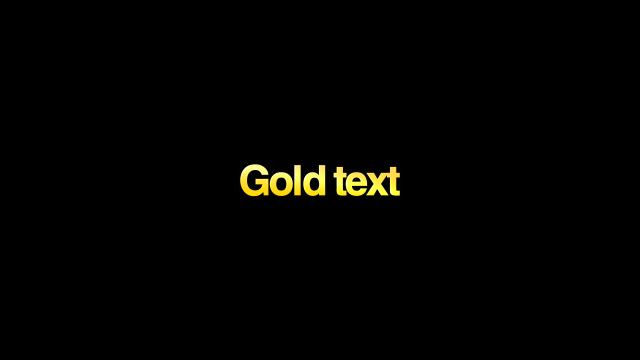
GOLD TEXT
Green
LEFT IN
OLD TV
OPACITY IN
Radial BLUR
RAINBOW TEXT
Rebote
REBOUND
RIGHT IN
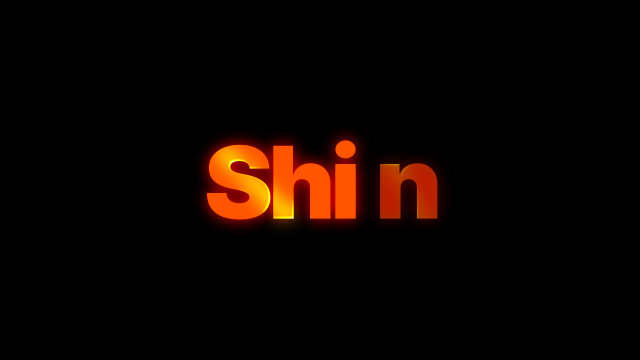
Shine Text Effect
SMOOTH BOUNCE
SMOOTH OPACITY
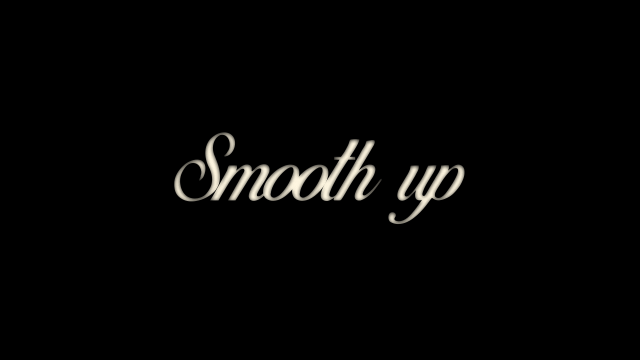
SMOOTH UP
TEXTO DE ORO
TRIPLE ELEGANT TEXT
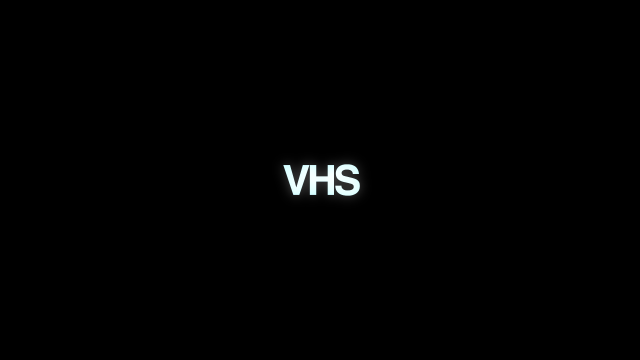
VHS
WARP
WATER TEXT
WAVES
ZOOM IN
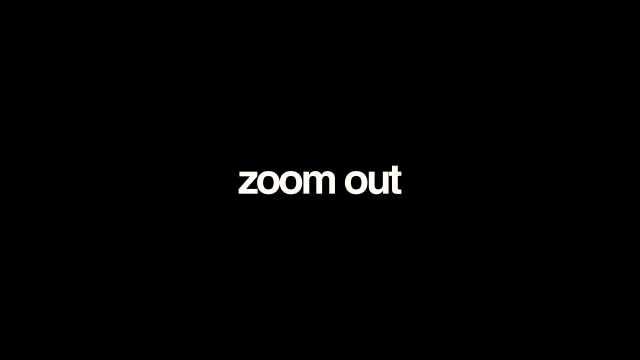
ZOOM OUT
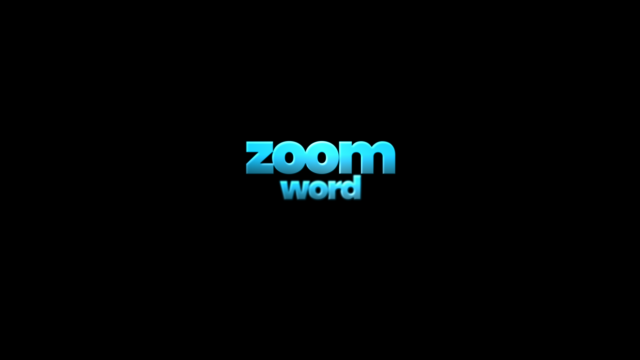
ZOOM WORD
ZOOM WORD 2
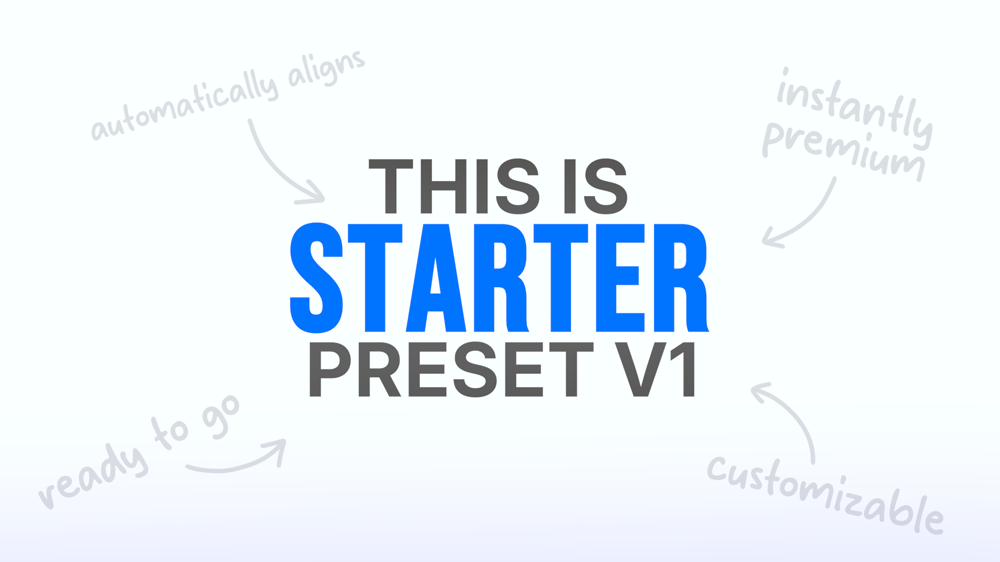
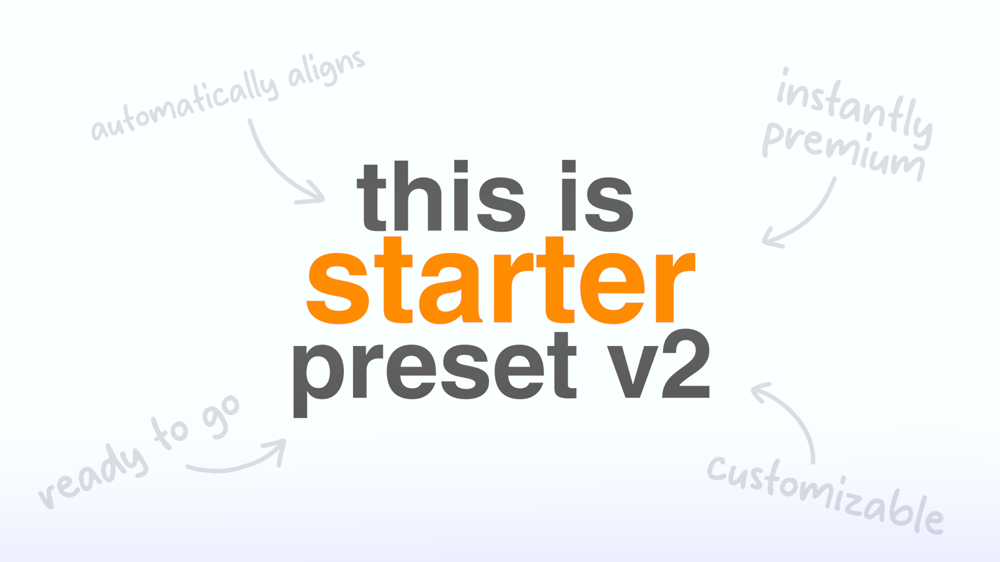
01 Starter Caption Preset v1
01 Starter Caption Preset v2
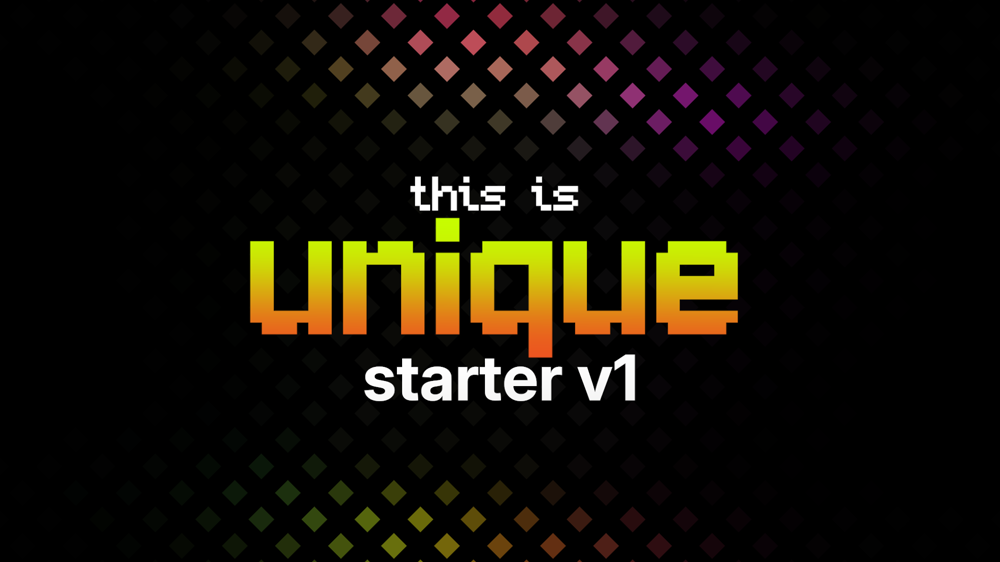
01 Unique Caption Preset v1
02 Reels Text 1
02 Reels Text 2
02 Starter Text 1
02 Starter Text 2
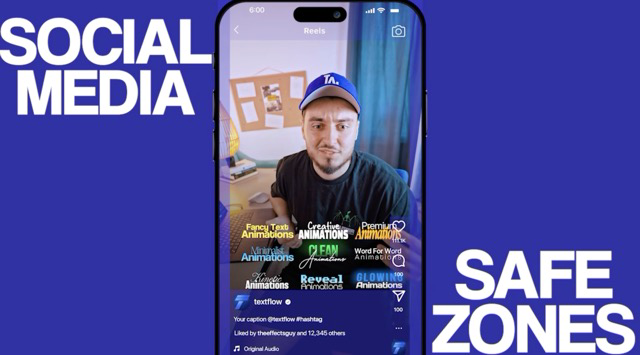
02.3 Reel Safe Zones
03 CTA Instagram Follow
03 CTA Youtube Subscribe
04 Comment Instagram Q and A
04 Comment Instagram Reply
3D Characters & Rotation Down
3D Characters & Rotation Front
3D Characters & Rotation Left
3D Characters & Rotation Right
3D Characters & Rotation Up
3D Characters Down
3D Characters Front
3D Characters Left
3D Characters Right
3D Characters Up
3D Words & Rotation Down
3D Words & Rotation Front
3D Words & Rotation Left
3D Words & Rotation Right
3D Words & Rotation Up
3D Words Down
3D Words Front
3D Words Left
3D Words Right
3D Words Up
Anchor Point Characters Down
Anchor Point Characters left
Anchor Point Characters Right
Anchor Point Characters Up
Anchor Point Words Down
Anchor Point Words left
Anchor Point Words Right
Anchor Point Words Up
Opacity & Blur Characters
Opacity Characters 1
Opacity Characters 2
Opacity Characters 3
Opacity & Blur Words
Opacity Words 1
Opacity Words 2
Opacity Words 3
Opacity Words 4
Position Characters Down 3
Position Characters Down
Position Characters Right 3
Position Characters Right
Position Characters Up 3
Position Characters Up
Position & Blur Words Down
Position & Blur Words Left
Position & Blur Words Right
Position & Blur Words Up
Position Words Down
Position Words Left
Position Words Right
Position Words Up
Random Characters & Blur 2
Random Characters & Blur 3
Random Characters & Blur
Random Characters Down
Random Characters Left
Random Characters Right
Random Characters Up
Random Characters
Random Words & Blur 2
Random Words & Blur 3
Random Words & Blur
Random Words Down
Random Words Left
Random Words Right
Random Words Up
Random Words
Typewriter 1
Typewriter 2
Typewriter 3
Typewriter 4
Typewriter 5
Position & Rotation Characters Down (B)
Position & Rotation Characters Left (B)
Position & Rotation Characters Right (B)
Position & Rotation Characters Up (B)
Position Characters Down (B)
Position Characters Left (B)
Position Characters Right (B)
Position Characters Up (B)
Position Line Down (B)
Position Line Left (B)
Position Line Right (B)
Position Line Up (B)
Position & Rotation Words Down (B)
Position & Rotation Words Left (B)
Position & Rotation Words Right (B)
Position & Rotation Words Up (B)
Position Words Down (B)
Position Words Left (B)
Position Words Right (B)
Position Words Up (B)
Scale & Rotation Characters (B)
Scale & Rotation Words (B)
Scale & Tracking Characters (B)
Scale & Tracking Characters 2 (B)
Scale & Tracking Words (B)
Scale & Tracking Words 2 (B)
Scale Characters (B)
Scale Line (B)
Scale Words (B)
Caption 01
Caption 02
Caption 03
Caption 04
Caption 05
Caption 06
Caption 07
Caption 08
Caption 09
Caption 10
Caption 11
Caption 12
Caption 13
Caption 14
Caption 15
Hook 01
Hook 02
Hook 03
Hook 04
Hook 05
Preset 01
Preset 02
Preset 03
Preset 04
Preset 05
Preset 06
Preset 07
Preset 08
Preset 09
Preset 10
Preset 11
Preset 12
Preset 13
Preset 14
Preset 15
Preset 16
Preset Logo
Reels Text Animation 01
Reels Text Animation 02
Reels Text Animation 03
Reels Text Animation 04
Reels Text Animation 05
Reels Text Animation 06
Reels Text Animation 07
Reels Text Animation 08
Reels Text Animation 09
Reels Text Animation 10
Reels Text Animation 11
Reels Text Animation 12
Reels Text Animation 13
Reels Text Animation 14
Reels Text Animation 15
Reels Text Animation 16
Reels Text Animation 17
Reels Text Animation 18
Reels Text Animation 19
Reels Text Animation 20
Reels Text Animation 21
Reels Text Animation 22
Reels Text Animation 23
Reels Text Animation 24
Reels Text Animation 25
Reels Text Animation 26
Reels Text Animation 27
Reels Text Animation 28
Social Hook Titles 01
Social Hook Titles 02
Social Hook Titles 03
Social Hook Titles 04
Text Preset 01
Text Preset 02
Text Preset 03
Text Preset 04
Text Preset 05
Text Preset 06
Text Preset 07
Text Preset 08
Text Preset 09
Viral Text 01
Viral Text 02
Viral Text 03
Viral Text 04
Viral Text 05
Viral Text 06
Viral Text 07
Viral Text 08
Viral Text 09
Viral Text 10
Viral Text 11
Viral Text 12
Viral Text 13
Viral Text 14
Viral Text 15
Replace mode - click a sound to swap it into the selected clip
Pick a sound for this marker
Marker 1 of 1
Click a sound to drop it at your playhead. Sounds longer than 5s will ask you to trim first.
Pick as many as you like - each new Adjustment Layer comes with all of them already applied, in the order picked.
No effects/presets found.
Select an Adjustment Layer or Color Matte on the timeline with effects already applied, then save it here to reuse its exact effects and settings anywhere.
Saved Stacks
No stacks saved yet.
Apply To
Cut Length 10 frames
Multiple Clips Selected
Library Folders
⌄
No folders added
Click "Add Folder" - its files show up below, and stay there even if you clear the library, as long as the folder still has them.
0 selected
09 Background 01 Teal Shape (16x9).mp4
09 Background 01 Teal Shape (9x16).mp4
09 Background 02 Cyan Shape (16x9).mp4
09 Background 02 Cyan Shape (9x16).mp4
09 Background 03 Blue Dark (16x9).mp4
09 Background 03 Blue Dark (9x16).mp4
09 Background 04 Blue (16x9).mp4
09 Background 04 Blue (9x16).mp4
09 Background 05 Navy Room (16x9).mp4
09 Background 05 Navy Room (9x16).mp4
09 Background 06 Purple Aura (16x9).mp4
09 Background 06 Purple Aura (9x16).mp4
09 Background 07 Pink Aura (16x9).mp4
09 Background 07 Pink Aura (9x16).mp4
09 Background 08 Red (16x9).mp4
09 Background 08 Red (9x16).mp4
09 Background 09 Red Shape (16x9).mp4
09 Background 09 Red Shape (9x16).mp4
09 Background 10 Orange Shape (16x9).mp4
09 Background 10 Orange Shape (9x16).mp4
09 Background 11 Orange (16x9).mp4
09 Background 11 Orange (9x16).mp4
09 Background 12 Green (16x9).mp4
09 Background 12 Green (9x16).mp4
09 Background 13 White Paper (16x9).mp4
09 Background 13 White Paper (9x16).mp4
Click Choose project... (or pick one under Recent projects). That project is only read, never changed.
Tick the sequences you want (All / None help). Reload reads the project again.
Keep Put them in a bin on to keep everything together.
Click Import sequences. Their media comes along; sequences already in this project are skipped.
Project made in a newer Premiere? Open it there and save it in your version first.
Undo: delete the new bin to remove everything that was imported.
1 Choose a Premiere project
Pick any .prproj - it's only read, never changed.
Recent projects
2 Pick the sequences
0 of 0 selected
Manage Slot
Macro
Size100%
HeightDefault
The style's own title over the frame under your playhead. Size and Height are the same settings as in the Captions tab (0% top, 100% bottom).
Nothing picked yet.
Name each clip by what it shows - e.g. "counting money.mp4" - and it's placed where a marker says that, or where you say it.
frames
Stock footage: 1080p only, vertical for vertical sequences and landscape for landscape. Every clip (stock or yours) is scaled to fill the frame. Downloads are saved in your Stocks download folder (B-Roll), with a credits file.
Searches YouTube for "<mood> no copyright background music" and only takes tracks whose title or channel says they're free to use (no copyright, royalty free, free for profit...). That's the uploader's claim, not a guarantee - check the video's description before publishing.
Pick stock footage
Click a clip to preview it. Tick it to use it.
1080p only, matching your sequence (vertical or landscape). Each clip remembers what you searched, so it lands where that's said.
Edit macro
Running
ExportPlay your edit in Premiere first - then export it from here.
Prompt
Title
YouTube downloader update
New update found
v-→v-
YouTube changes often - the latest yt-dlp keeps searches and downloads working.
Automatic checks can be turned off in Settings.
Content packs
Backgrounds
Animated background videos for the Library tab.
Included in this install
Additional MOGRTs
Caption 01-93 and more titles for the MOGRT tab.
Included in this install
Regular + Bounce presets
The Regular and Bounce title preset sets.
Included in this install
MOGRT templates
The 16:9 and 9:16 templates in the MOGRT tab.
Included in this install
Storage
Your downloads
Videos, b-roll, music, sounds and cleaned or converted files the panel saved. A project that still uses one of them will show it as Media Offline. Deleted folders come back by themselves the next time you download something.
Temporary files
Previews, sound being cleaned, sync and voice work files. Safe to clear - they're made again when needed. Files from the last 10 minutes are kept.
Checking...
Kept here
Checking...
Voice commands
Talk to the panel - tap the mic at the bottom right.
Your name, for the greeting
Microphone
Accuracy
Default transition
Transition length (frames)
Settings
UNREGISTEREDEnter Pro LicenseDeactivate this computer
YouTube sign-in
Only if YouTube says "confirm you're not a bot" (common on mobile data and VPNs). Uses the YouTube login of the browser you pick - it stays on this computer and goes only to YouTube. On Windows, Firefox works best (Chrome / Edge must be closed).
Diagnostics Log
Reset
Reloads the panel only. Nothing is deleted.
Erases your activation, tab order, Quick Slots layout, cached previews, and downloaded Whisper/translation models (they'll re-download when needed). Your macros, export presets, saved API keys, and everything in Library/Stocks/SFX/Captions are untouched - so are the bundled engines and templates.
Confirm
Quick Access
Tap up to 6 tabs to pin them to the bar at the bottom.
Tutorial
Processing...0%
New: voice commands
Tap the mic and say what you want - "add captions", "remove the pauses", "cross dissolve on both ends"...